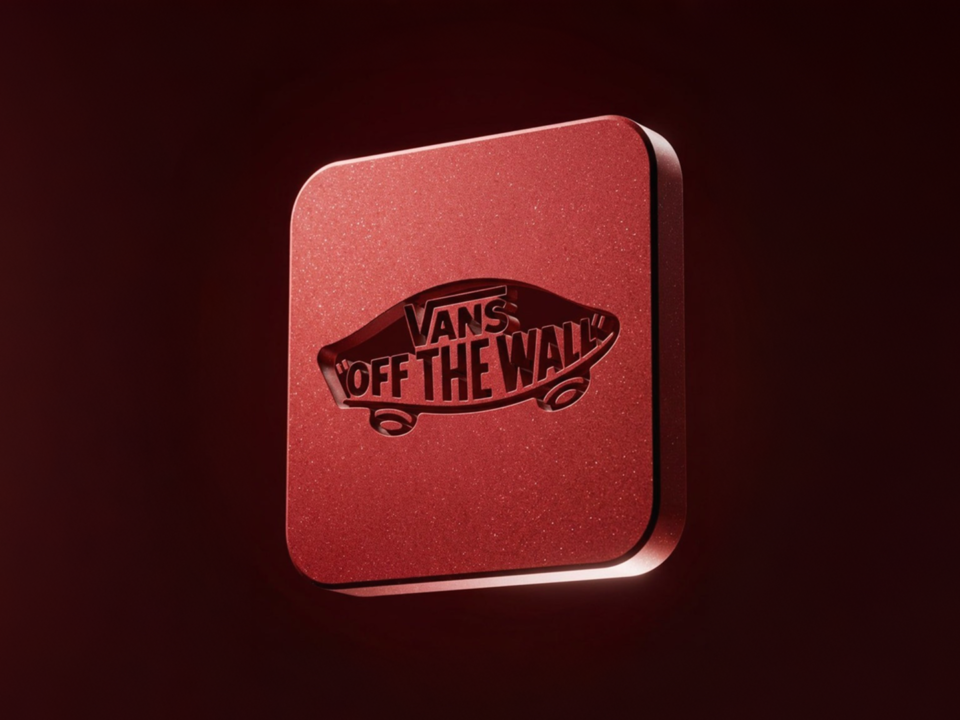
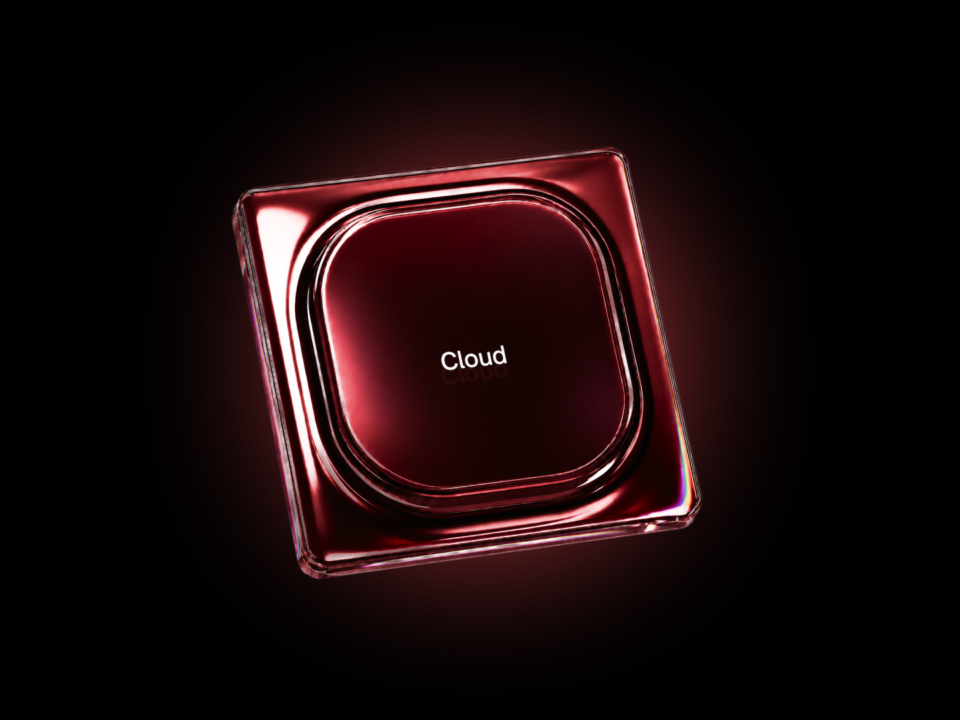
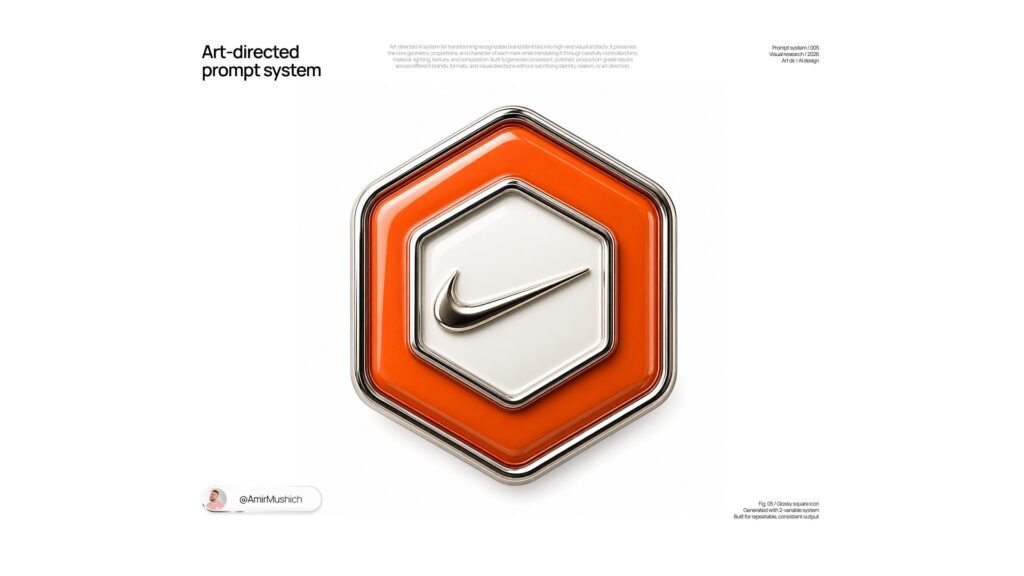
3-variable AI prompt turns any brand into an ornate collectible 3D badge. Ideal for premium brand design assets.
How to use the prompt
Variables: [BRAND NAME], [BACKGROUND COLOR], [ACCENT COLOR].
Replace [BRAND NAME] with the logo you want (e.g. Nike), [BACKGROUND COLOR] with the background color (e.g. white), and [ACCENT COLOR] with the accent color (e.g. gold). Then paste the full prompt into GPT Image.
This prompt works great for websites, social media, pitch decks, packaging, or any project that needs polished modern brand visuals.
[BRAND NAME = ]
[BACKGROUND COLOR = ]
[ACCENT COLOR = ]

Create a square 1:1 studio CGI visualization of an ornate collectible achievement badge for [BRAND NAME], reproducing the exact visual language of a high-gloss enamel-and-polished-metal digital medal.

BRAND ACCURACY

Automatically identify the most recognizable authentic official standalone symbol of [BRAND NAME].

Preserve its canonical silhouette, proportions, stroke relationships, internal negative spaces, characteristic curves, intersections and component spacing. Do not redesign, simplify, merge or reinterpret the identity. Use the official wordmark only if the brand has no recognizable standalone symbol.

Preserve the authentic geometry of the brand, but do not automatically inherit or introduce its native colors unless they are structurally necessary for recognition.

COLOR SYSTEM

[ACCENT COLOR] is the primary controlled chromatic color of the badge.

Use [ACCENT COLOR] for the dominant outer enamel field surrounding the logo container.

Do not use [ACCENT COLOR] as the entire badge surface and do not place the logo directly onto one uninterrupted field of [ACCENT COLOR].

The badge must contain a distinct central logo container physically separated from the surrounding accent enamel.

The logo container color should be derived from [BACKGROUND COLOR].

If [BACKGROUND COLOR] is light, use a white, ivory, pale neutral or extremely close tonal variation of it.

If [BACKGROUND COLOR] is dark, use a deep near-black or dark neutral version of it.

If [BACKGROUND COLOR] is chromatic, use a restrained desaturated or slightly shifted tonal version of the same color family.

The logo container must remain clearly distinguishable from the surrounding [ACCENT COLOR] enamel through material, framing and shallow relief rather than through an unrelated secondary color.

The final hierarchy should read as:

[ACCENT COLOR] outer enamel field
→ polished metallic separator frame
→ inset logo container derived from [BACKGROUND COLOR]
→ raised authentic [BRAND NAME] symbol.

Do not introduce arbitrary secondary accent colors.

BADGE ARCHITECTURE

Construct the badge as a real shallow multilayer collectible object rather than a flat icon.

Use a compact rounded hexagonal outer medallion with balanced symmetrical proportions and generously rounded corners.

Build the object through several clearly separated nested relief levels:

polished outer metal rim
→ recessed glossy [ACCENT COLOR] enamel field
→ raised inner metallic frame
→ inset central logo container
→ raised authentic [BRAND NAME] symbol.

The logo container is mandatory.

It should occupy approximately 48–65% of the badge width depending on the proportions of the brand symbol.

Its silhouette may be circular, rounded hexagonal, softly rectangular or another restrained geometric form chosen to complement the official logo geometry, but it must always read as a clearly defined inner medallion rather than a continuation of the outer field.

Keep a visible ring of [ACCENT COLOR] around the container on all sides.

Do not allow the inner logo container to expand until it visually replaces the outer accent field.

INNER LOGO CONTAINER

Create a distinct recessed or shallow-raised central medallion behind the logo.

Use a smooth glossy neutral enamel or polished resin surface derived from [BACKGROUND COLOR].

The container should have its own shallow convexity and clean controlled highlight response.

Surround it with a narrow polished metallic frame approximately 2–4% of the badge width.

The metallic frame should create a precise boundary between the accent field and the logo container.

Include a microscopic dark separation seam on both sides of this frame to clarify the layered construction.

The container must feel physically inserted into the badge.

Do not render it as a flat painted circle or graphic backdrop.

Do not omit the container even when the brand logo is simple.

LOGO PRESENTATION

Place the authentic [BRAND NAME] symbol centered inside the logo container.

Render the logo as a separate raised physical element.

Depending on contrast and brand geometry, use:

polished chrome,
pale metallic enamel,
deep neutral enamel,
white or ivory enamel,
or a restrained combination of neutral enamel and polished metal.

The logo must visually separate from the container through material and relief.

Do not recolor the logo with [ACCENT COLOR] unless absolutely necessary for brand recognition.

Do not place the logo directly onto the outer [ACCENT COLOR] field.

BADGE PROPORTIONS

Keep the total object moderately shallow, approximately 10–16% of its overall width.

Outer rim thickness should remain visually substantial but refined.

The [ACCENT COLOR] enamel ring should remain clearly visible around the inner logo container.

The logo container should not exceed approximately two thirds of the total badge width.

Every major transition should have smooth molded shoulders, rounded corners and controlled physical thickness.

Use narrow recessed separation seams between adjoining components.

No razor-sharp edges.

SURFACE TOPOLOGY

Do not use perfectly flat colored surfaces.

Give the outer [ACCENT COLOR] enamel field a subtle pillow-like convexity, as if the material has been precisely poured into a recessed metal cavity.

The inner logo container should also have a restrained shallow convex profile, but slightly flatter than the surrounding accent field.

This difference in curvature should create separate highlight behavior between the two zones.

Raised emblem elements may be slightly more convex to catch broad studio reflections.

Maintain continuous smooth normals and precise manufactured geometry.

MATERIAL SYSTEM

Use a jewelry-like combination of polished metal and dense glossy hard enamel.

ACCENT ENAMEL:
use [ACCENT COLOR];
opaque hard enamel / polished resin hybrid;
rich saturated body color;
high-gloss clear surface;
roughness approximately 0.08–0.16;
strong clean dielectric specular response;
subtle optical depth;
perfectly smooth finish;
no visible grain;
no metallic flakes;
no translucency.

LOGO CONTAINER:
use a tonal material derived from [BACKGROUND COLOR];
glossy neutral enamel or polished resin;
slightly higher roughness than the accent field, approximately 0.12–0.20;
clean smooth finish;
subtle soft reflections;
no competing chromatic color.

METALLIC STRUCTURE:
mirror-polished pale silver, chrome or restrained champagne-toned metal;
very low roughness;
bright controlled reflections;
dark neutral reflection bands;
smooth rounded edges;
no brushing, scratches, oxidation or grain.

Metal should define:
outer rim,
inner container frame,
small structural separators,
selected logo accents.

Do not allow metallic warmth to become a competing accent color.

EDGE ARCHITECTURE

Give every outer and internal contour a soft precision-molded bevel rather than a simple software bevel.

Use moderately broad rounded bevels with smooth convex profiles.

The outer rim should catch strong narrow highlights.

The inner logo-container frame should be slightly narrower and more delicate than the outer rim.

Where enamel meets metal, include microscopic recessed seams and restrained ambient occlusion.

Where the inner container meets its metallic frame, preserve a clean narrow shadow line.

Avoid thick cartoon outlines.

LIGHTING

Use controlled high-end product-render lighting designed specifically to reveal the nested badge construction.

Place one very large rectangular diffused softbox above and slightly left/front of the badge.

Its reflection should appear as broad elongated highlights across the outer [ACCENT COLOR] enamel field.

Allow the inner logo container to receive a softer, quieter version of the same reflection so the two surfaces remain visually distinct.

Add a weak frontal fill to preserve logo readability and the hue of [ACCENT COLOR].

Use a narrow secondary strip source from the opposite upper-right side to create selective bright lines on the outer rim and the inner container frame.

Surround the object with black negative-fill cards and tall neutral reflection cards so polished metal alternates between bright strips and deep clean reflections.

Lighting must remain chromatically neutral.

No harsh spotlights.
No dramatic cast shadows.
No colored neon lighting.
No visible HDRI environment.

REFLECTION DESIGN

Treat reflections as part of the construction hierarchy.

OUTER ACCENT FIELD:
broad soft rectangular highlights;
smooth falloff;
slightly stronger specular response.

INNER LOGO CONTAINER:
quieter softer highlights;
slightly reduced contrast;
clean tonal separation from the outer field.

METAL:
narrow bright high-contrast strips;
deep neutral reflection gaps;
precise controlled highlight continuity.

LOGO:
small concentrated highlights that reveal its raised relief without overpowering the composition.

Do not scatter random highlights across the object.

SHADOWING AND DEPTH

Use restrained contact shadows:

inside outer recessed seams,
beneath the inner metallic frame,
between the frame and logo container,
under the raised logo,
around overlapping relief levels.

Ambient occlusion should clarify the physical nesting of layers without creating black outlines.

The strongest local depth cues should occur around the inner logo container and raised logo.

Avoid heavy global shadows or crushed blacks.

CAMERA

Photograph the badge almost frontally with only a subtle three-quarter orientation sufficient to reveal physical thickness and nested layering.

Camera yaw approximately 5–8 degrees and very slight vertical elevation.

Use an 85–110 mm product-photography lens character or equivalent compressed perspective.

Avoid wide-angle distortion.

Keep the badge geometrically balanced and nearly symmetrical in the frame.

DEPTH OF FIELD

Keep essentially the entire badge sharply focused.

Use only extremely subtle optical softness on the most distant outer edge if needed.

No obvious macro blur and no shallow cinematic depth of field.

COMPOSITION

Single isolated badge centered in a square 1:1 frame.

Badge occupies approximately 68–78% of the image width.

Leave generous clean negative space around the object.

Use a perfectly clean solid [BACKGROUND COLOR] background with no floor line, scenery, texture, gradient, pedestal, typography or additional objects.

The central logo container should visually echo [BACKGROUND COLOR], creating a controlled relationship between the badge interior and the surrounding image background.

The badge should appear suspended or presented directly against the background rather than visibly resting on a surface.

RENDER CHARACTER

High-end path-traced CGI product visualization with the precision of a digitally designed collectible medal.

Extremely clean anti-aliasing, smooth subdivision, accurate curved normals, realistic Fresnel response, controlled ray-traced reflections and restrained ambient occlusion.

The badge must feel architecturally layered and deliberately assembled rather than like a logo placed on a colored plate.

TACTILE IMPRESSION

The object should feel small, dense, smooth and substantial:

cold polished metal,
hard glass-like accent enamel,
a separately inserted central medallion,
a raised physical brand emblem,
soft rounded crowns and precisely fitted material junctions.

Maintain an idealized factory-new finish.

NEGATIVE CONSTRAINTS

Do not create a flat vector logo.
Do not create an app icon or simple rounded-square icon.
Do not simply extrude the logo.
Do not place the logo directly on one uninterrupted [ACCENT COLOR] field.
Do not omit the central logo container.
Do not allow the [ACCENT COLOR] enamel to fill the entire face of the badge.
Do not make the logo container the same color as [ACCENT COLOR].
Do not introduce arbitrary secondary accent colors.
Do not override [ACCENT COLOR] with the brand's native palette.
Do not use thick toy-like plastic.
Do not use translucent glass.
Do not use brushed or rough metal.
Do not use matte enamel.
Do not use sharp CAD edges.
Do not use excessive bevel depth.
Do not use random decorative grooves.
Do not add text unless it is an unavoidable part of the authentic official logo.
Do not add stars, numbers, crowns, ribbons, laurels, achievement symbols or unrelated ornament.
Do not add particles or confetti.
Do not add scratches, dust, fingerprints or wear.
Do not use neon lighting.
Do not use dramatic perspective.
Do not use strong depth of field.
Do not add a pedestal, visible floor or cast-shadow environment.